
In Part 1, I vibe-coded a full Oracle recruiting app using IBM’s Bob AI. In Part 2, I provisioned the Supabase database that backs it. This article is the final step: getting the app live on Vercel with the right environment variables wired in.
Prerequisites: a GitHub repository containing your app code, and your Supabase Project URL + API keys from Part 2.
Why Vercel — and Why It’s the Right Last Step
Deploying an app used to mean configuring a server, setting up NGINX, managing SSL certificates, and writing a deploy script. Vercel eliminates all of that. It connects directly to your GitHub repo, detects your framework automatically (Next.js, React, Vue, plain HTML — it handles them all), builds the app, and serves it from a global CDN with HTTPS by default. Every push to your main branch redeploys automatically. Every pull request gets its own preview URL.
For a vibe-coded app, this matters for one specific reason: the AI generated the code, you pushed it to GitHub, and now you want it live without becoming a DevOps engineer. Vercel is exactly that bridge.
Step 1 — Connect Your GitHub Repository
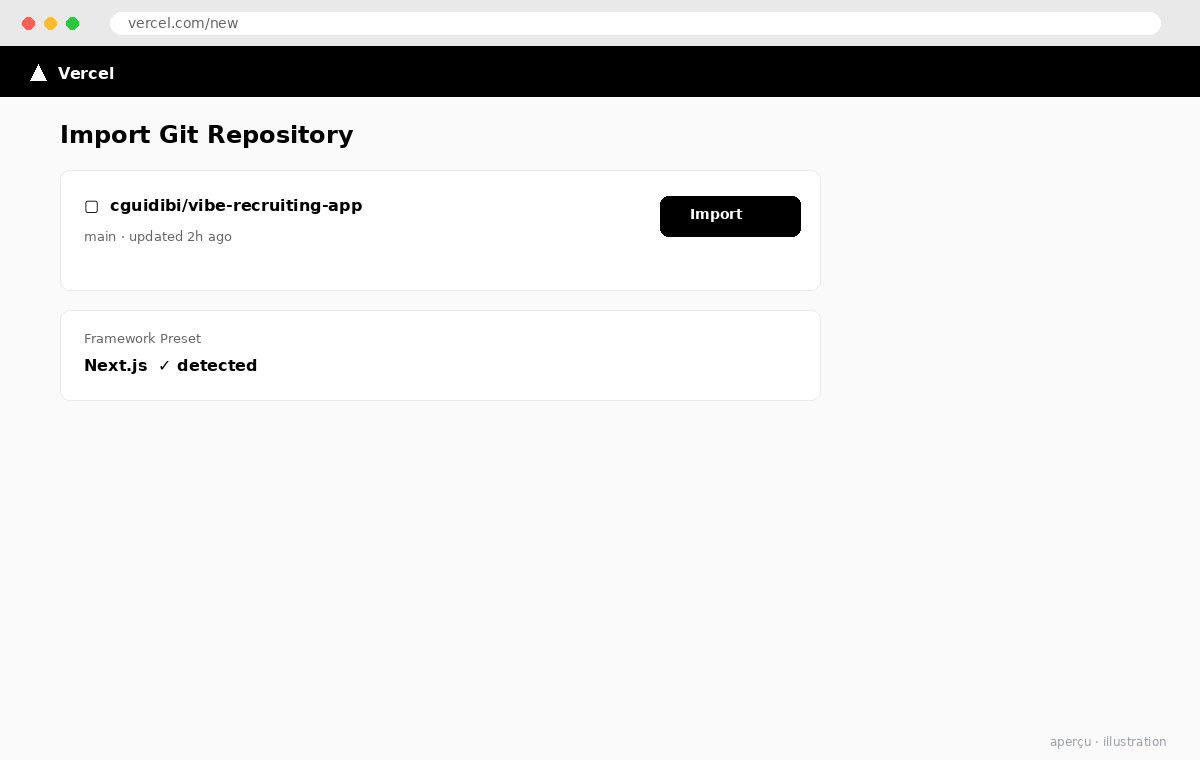
Go to vercel.com and sign in with GitHub. From the dashboard, click Add New → Project. Vercel will list your GitHub repositories — select the one containing your app. If the repo is in a GitHub organization, you may need to grant Vercel access to it first via the GitHub OAuth screen that appears.
Vercel scans the repo and detects the framework. For a Next.js app it will auto-configure the build command (next build) and output directory. For a plain React app (Create React App), it detects that too. If your app is something more custom, you can override the build command and output directory manually in this screen.
Step 2 — Set Your Environment Variables
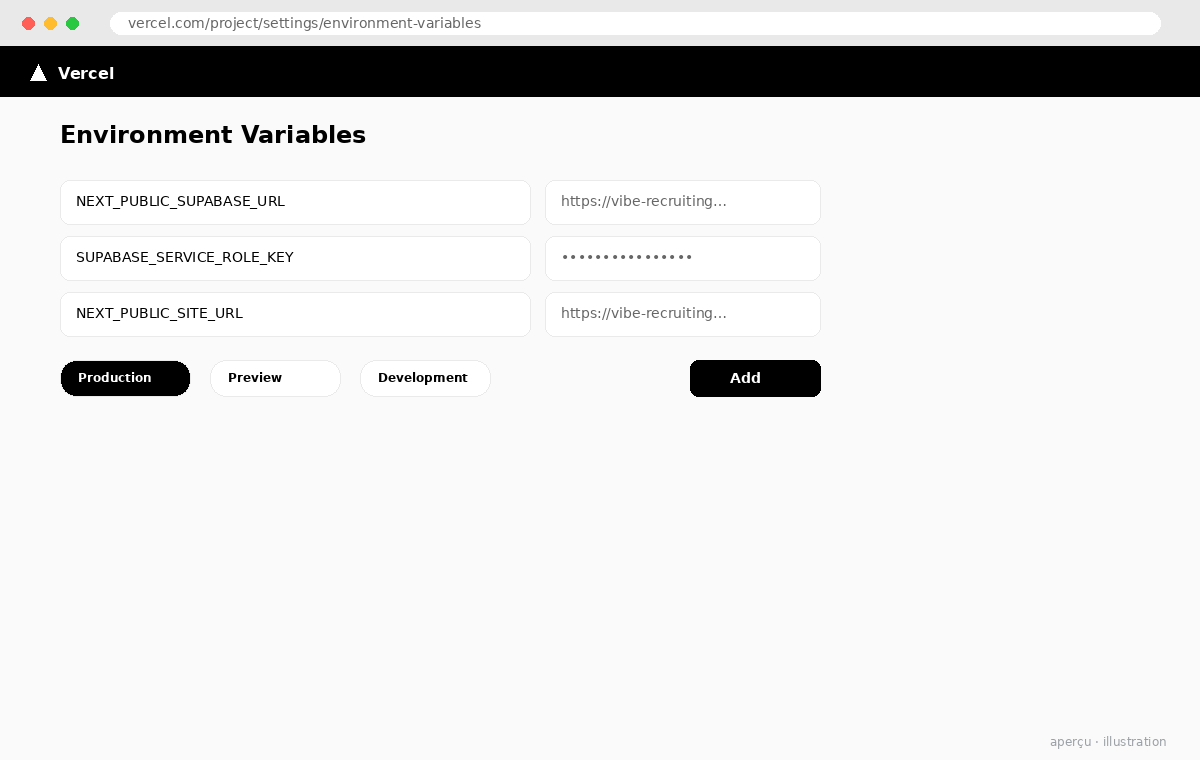
Before you hit Deploy, scroll down to Environment Variables. This is where your Supabase credentials live — never in your source code, always in environment variables. Add the following three variables exactly as they appear in your Supabase Project Settings → API panel:
| Variable Name | Where to Find It | Notes |
|---|---|---|
NEXT_PUBLIC_SUPABASE_URL |
Supabase → Settings → API → Project URL | Safe for frontend — NEXT_PUBLIC_ prefix exposes it to the browser |
NEXT_PUBLIC_SUPABASE_ANON_KEY |
Supabase → Settings → API → anon / public key | Safe for frontend — read/write restricted by RLS policies |
SUPABASE_SERVICE_ROLE_KEY |
Supabase → Settings → API → service_role key | Server-side only — no NEXT_PUBLIC_ prefix. Bypasses RLS. Never expose in browser. |
Set each variable for all three environments: Production, Preview, and Development. That way your preview deployments (from pull requests) and your local vercel dev environment all use the same Supabase instance. If you have a separate staging database, you can scope variables per environment here too.
Step 3 — Deploy and Verify
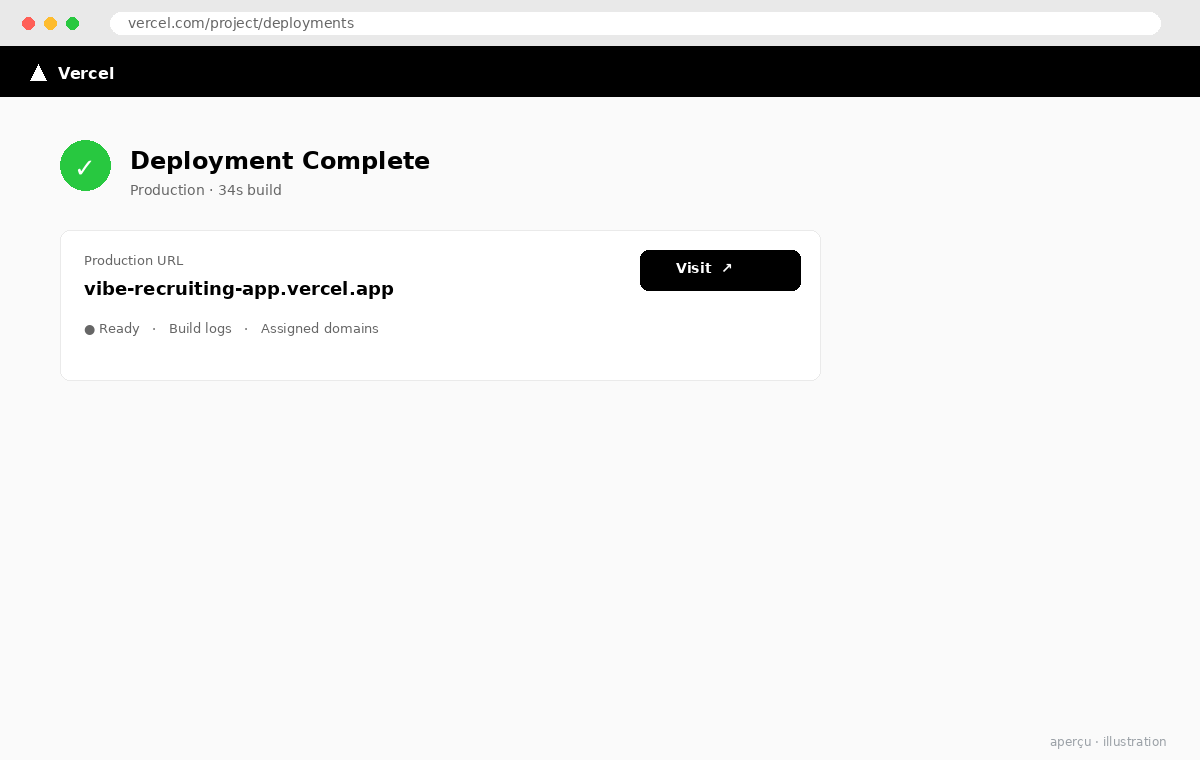
Hit Deploy. Vercel will clone your repo, install dependencies, run the build command, and push the output to its CDN. The first deploy typically takes 60–90 seconds for a small app. When it finishes, you get a live URL in the format your-project-name.vercel.app.
Open the URL and verify three things: the app loads, data from Supabase is being fetched correctly (check your browser’s Network tab for successful API calls), and the environment variables are being picked up (if there’s a login screen or a data-dependent view, test it). If anything is broken, Vercel’s deployment logs are accessible immediately from the dashboard — they show the exact build output and runtime errors.
Step 4 — Add a Custom Domain (Optional but Recommended)
The vercel.app URL works, but if you’re showing this to a client or a hiring team, a proper domain reads better. Go to Project Settings → Domains, add your domain, and follow the DNS instructions — typically a CNAME record pointing to cname.vercel-dns.com. Vercel handles SSL certificate provisioning automatically. The whole process takes under 5 minutes once DNS propagates.
What Was Built
- Vercel Project — GitHub repo connected, framework auto-detected, build pipeline configured in 2 minutes
- Environment Variables — 3 Supabase credentials set across Production, Preview, and Development environments
- Live Deployment — App live at
*.vercel.appwith HTTPS and global CDN, first deploy under 90 seconds - Continuous Deployment — Every push to main triggers an automatic redeploy; every PR gets a preview URL
3 Things That Changed How I Think About Deployment
- Preview URLs are a hidden productivity multiplier. Every pull request getting its own live URL means you can share a working version for review before anything merges. For consulting deliverables, that’s a game changer — a client can test the PR before it’s “done.”
- Environment variables in the UI beat .env files. No more worrying about accidentally committing secrets. Vercel’s variable management is a first-class feature, not an afterthought, and the per-environment scoping is genuinely well-designed.
- The build log is your first debugging tool. If a deploy fails, Vercel’s logs are detailed enough to diagnose 90% of issues without needing to reproduce locally. For vibe-coded apps where you didn’t write every line yourself, this matters — you can debug what you didn’t build.
Three steps. One AI to build the app, one database to store the data, one platform to serve it. What used to be a multi-day sprint — spec the app, write the backend, configure a server, set up CI/CD — is now a morning’s work. That’s not a productivity hack. That’s a structural change in what a solo consultant or a small team can ship.
Vercel closes the loop. Your AI built the code, Supabase stores the data, and Vercel puts it in front of users — with zero server management, automatic HTTPS, and a CI/CD pipeline that runs on every push. The full stack from idea to live app is now a single morning’s work.
Resources: Vercel Documentation · Environment Variables Guide · Deployments Overview · Part 2: Supabase Database Setup · Part 1: Vibe Coding with Bob

Oracle Cloud Practice Lead & AI & Futuristic Technology Consultant
Christian leads Oracle Cloud implementations and AI-enabled delivery in a consulting context. He writes about the intersection of enterprise architecture, modern AI tooling, and practical delivery at guidibi.com.